

Well, I did it. I committed to not having a fourth solar panel on the roof and installing a second roof vent instead. This isn’t really a “how-to” post, but I took pictures throughout the process and can show you how I did it.
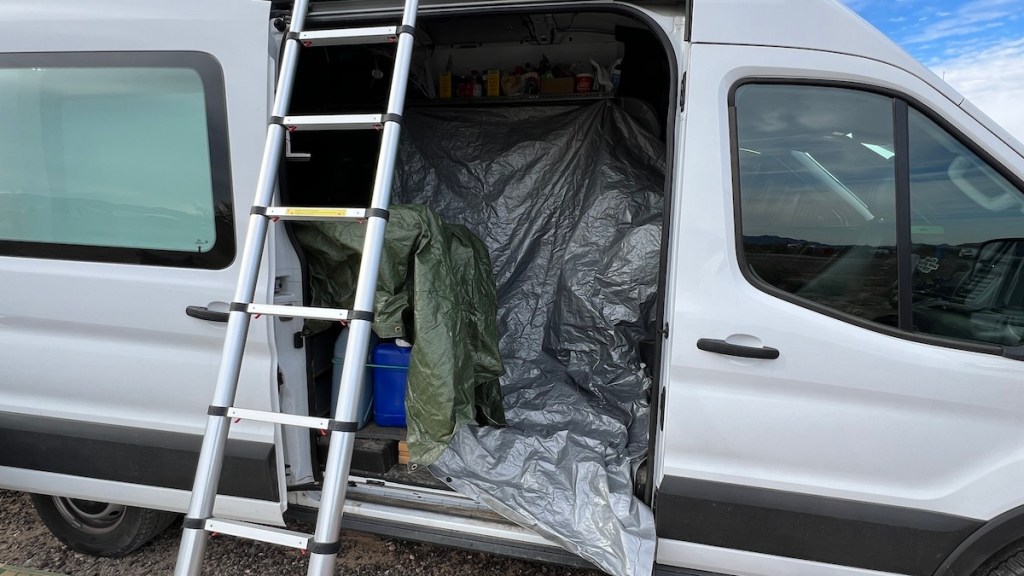
First, I measured everything. Many times. Cutting a hole in a perfectly good roof is kind of scary. Although I’ve installed three roof vents with no leaks, there’s always the possibility of messing something up, so I was very careful. I started by putting tarps down to cover my kitchen and living space.

Then, I took down the roof insulation in the front of the van. This would help me measure and mark the vent location the easy way from the inside without climbing on top of the roof.

I used the inside trim piece as a stencil to draw the outline of where I wanted the hole to be with a marker. I didn’t have enough hands to do this myself, but Dalane wandered by at just the right time, and held the piece up like this while I traced around it.

I took a big nail, placed it in each corner, and hammered it a few times. This dimpled the metal, allowing me to see these corners from on top of the roof to make absolutely sure this was the right place. If it wasn’t, the dimples would be there, but I hadn’t drilled yet, so it was still weather-tight. Fortunately, I got it right on the first try. Back inside, those dimples held the small drill bit in place as I drilled pilot holes in the corners, then enlarged them with a bigger bit. There was no going back now.

From the outside, I used a straightedge to draw lines connecting the holes in the corners. I used my jigsaw with a metal blade, which was much easier to use from outside than inside. It made short work of the roof.


The hole was a little bit too small, which is better than too big. I kept trimming the sides until I could drop the roof vent into the hole.


Then I took it out and laid down some layers of butyl tape. I used one layer on the back and two layers on the front and sides since the roof’s contours are a bit lower on those sides. The vent didn’t come with screws, so I’d picked a bunch up at the hardware store. It was time to screw them in.

The screws go right through the butyl tape, which helps seal the holes up from leaking. The next step was to goop up the edges and the tops of the screws with self-leveling lap sealant.
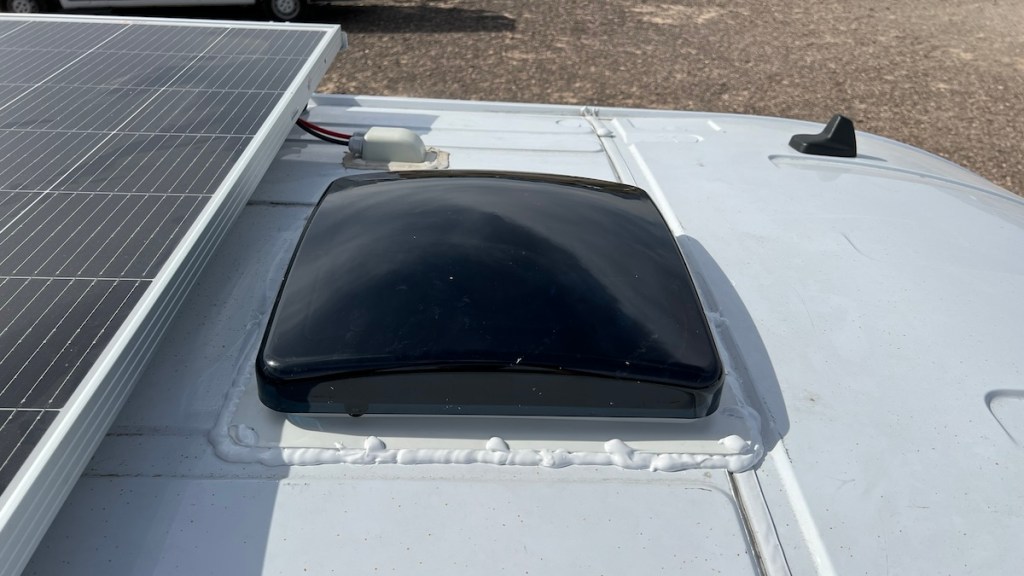
Once this dried a bit, I also put a piece of Eternabond tape over the front for a better seal and to smooth over the gap between the vent and the rest of the roof. My work up here was done.
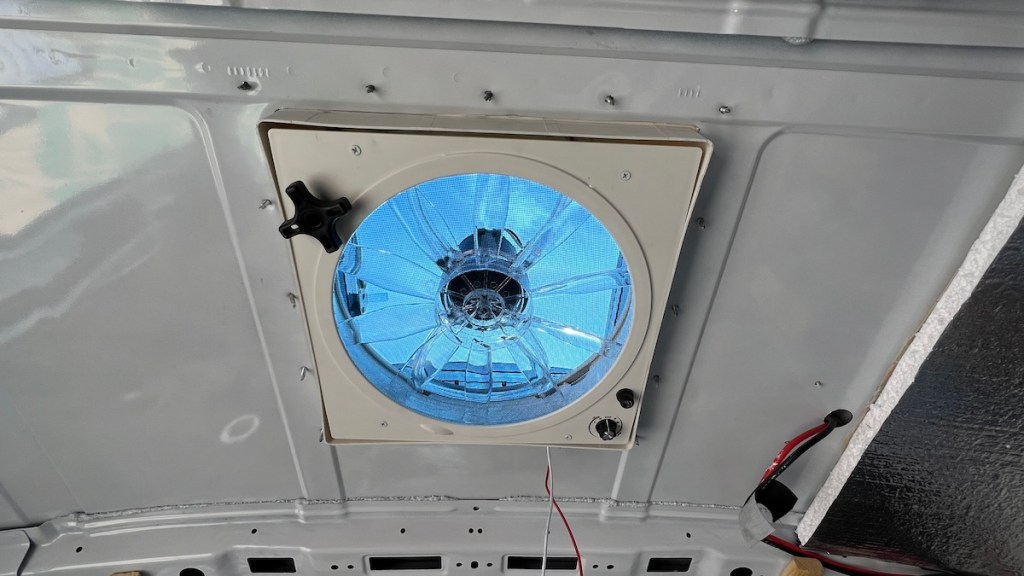
The fan was easy to wire, with just a positive and negative wire for the motor. I wired it into my existing circuit for the rear roof vent, since I’d already put a 12-volt regulator on this circuit to prevent further blowouts of the control board. Then it was time to reinstall the insulation, with new holes for the new vent.

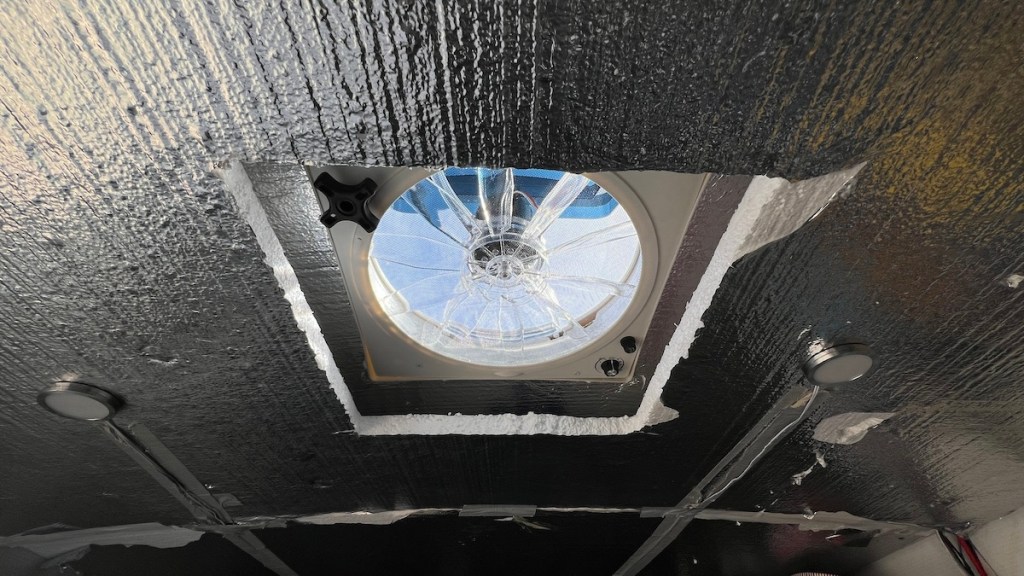
The first layer was pretty easy since it’s a smaller piece that sits between two roof supports. I measured and then cut the hole with a knife. I had to do some extra trimming to make it fit, but it worked. Then I reinstalled the wood strapping to hold this insulation layer in. The second layer is supposed to attach to it with screws, but the heads always go through the foam, so it droops down a bit. I’m going to have to pick up a little more wood and put some more supports in, just like I did with the rear trim piece. That will not only give me something solid to screw the trim piece onto but also hold the insulation up closer to the roof. As it is, I still have enough headroom to walk under it. It’s just a lot more obvious that there’s a gap between the layers now that there’s a hole in the roof. That’s just cosmetic, though, and something I can deal with the next time I get to civilization.

I’m really happy I have a second table I can set up to hold parts and tools for jobs like this. It doesn’t take up much space inside the trailer, either. After a bit of cleanup, I was done for now.
The second roof vent gives me exactly what I was looking for. With all the doors and windows closed, I still get a good amount of ventilation from the front to the back. I don’t even need to use the new vent’s fan, since the Maxxair’s automatic one can do all the work. However, it’s nice to have an exhaust fan over my kitchen if I need to blow steam or smoke out of of the van while I’m cooking.
Here’s the best part. I paid my friend Logan $100 for the vent. I had to buy $4 worth of screws since the vent didn’t come with any. He probably lost them a while ago. I had enough butyl tape and lap sealant leftover from installing the rear vent that I didn’t have to buy any more for this job. And then, my friend Kris bought the vents I’d been using in the front side windows — for $100! All Ford Transit front doors are the same, so they’ll work with her mid-roof van, and she’s been eyeballing these window vents since she got here in the fall. In the end, the entire job cost me just $4 for the missing screws. I’m happy to have the vent, Logan is happy to get rid of it, and Kris is happy to improve her own ventilation. Everybody wins.
