
A sink was not part of our original plan for this van. It was a nice-to-have. We already had both fresh and grey water jugs as required by Harvest Hosts, plus a foot pump to get water out of the jug and into whatever we wanted. However, as I learned more about Boondockers Welcome, I learned that they explicitly require a sink in order to use their network of places to stay. That increased the priority significantly. But how to do it? The van’s already built. Where do I put it, and how do I plumb it, especially considering I’ve never done plumbing before?
The answers, like everything these days, were on the internet. After a fair bit of research, I assembled this parts list, which has everything I needed to add a sink to my existing setup.
- Valterra – RP800 Rocket Hand Pump for RV
- Keeney 878PC Stainless Steel Junior Duo Bar Sink Strainer with Basket
- Camco Flexible Camper Drain Tap with Hose System
- Stainless steel mixing bowl
I got everything but the mixing bowl from Amazon (full disclosure: these are affiliate links — I’ll make a little money if you buy from these links). I couldn’t find a single bowl, only sets, and I didn’t need an entire set. I ended up finding exactly what I needed at the Amish Community Market and Bakery in Unity, Maine. Leave it to the Amish to have EXACTLY what you need for off-grid living.
Everything cost just under $75. That does NOT include the water jugs I already owned, but it does include everything needed to get water out of the fresh water jug, out the faucet, into the sink, and into the grey water jug.
Cut the Counter
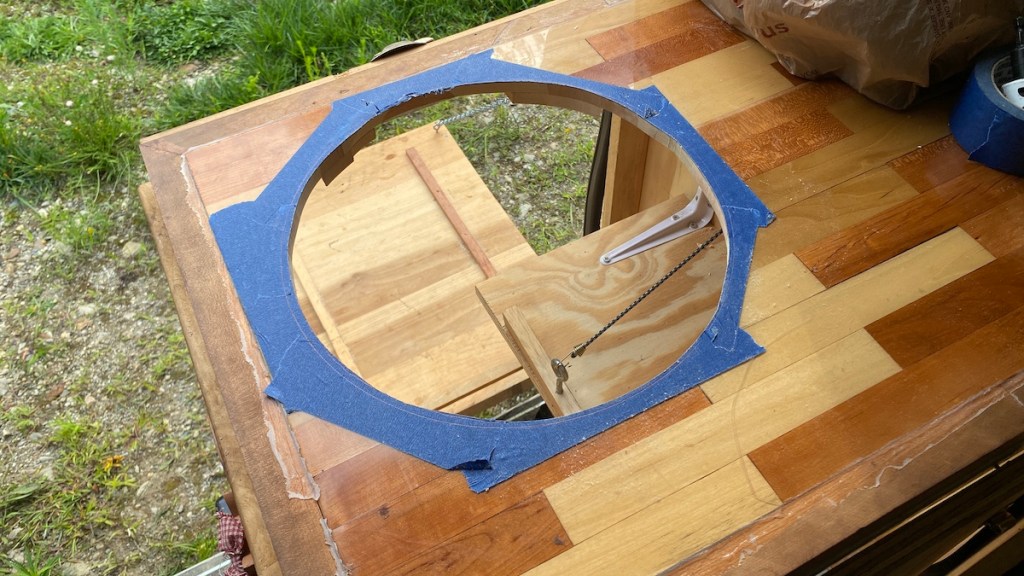
This was the most harrowing aspect of the install itself. I have this beautiful counter, and I only get one chance to cut it!
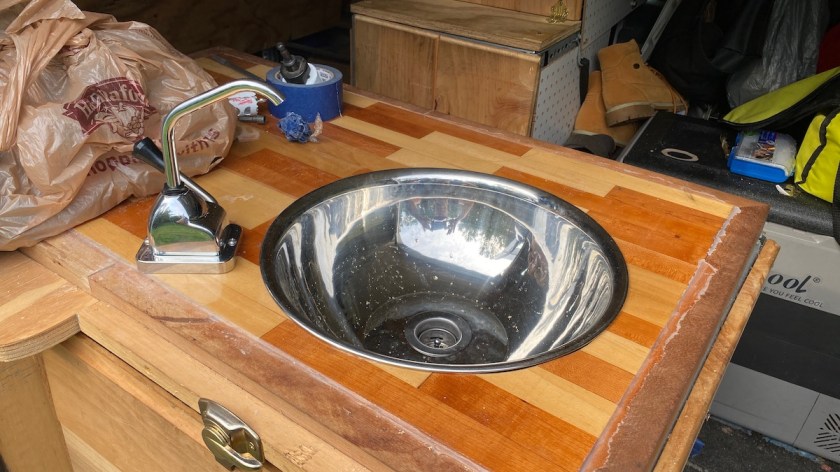
I laid the bowl upside down on top of the counter. Then I put painter’s tape on the counter where the edge was, put the bowl back on, and traced its outline. After that, I traced a second circle inside of the first. This is where I would actually cut it with my jigsaw. That way, the outer lip of the bowl would just hang on the edge of the hole. The old adage “measure twice, cut once” applies in triplicate here. Fortunately, I got it right, and the bowl sits nicely inside the hole I cut.
Don’t throw away the circle you cut away! With a bit of trimming, you can make this fit inside the bowl when you’re not using it as a sink. This way you don’t even have to give up much counter space to the sink.
Drill a Hole
Naturally, the first thing you want to do to the vessel you intend to hold water in is drill a 2-inch hole in the bottom of it. I tried the hole saw I used to install my shore power hookup, but it went dull cutting through the side of the van, so I used my Dremel to cut the hole. It’s less precise, but it works. Make the hole as close to the center of the bottom of the bowl as possible.
Install and Test the Drain
At this point, you can install the drain in the hole you just cut. You’ll need a really big wrench for this. A pipe wrench works great (that’s what I borrowed). Put the stopper in the drain, fill the bowl with water, and check for leaks. I found that adding some teflon tape to the drain threads stopped the small leak that was coming through them.
Install the Drain Hose
The Camco drain tap and hose simply screws onto the bottom of the drain. The other end is intended to simply drain out the side of your camper or RV. You can use it that way, but since I’m building my van to Boondockers Welcome specs, the sink has to drain into a grey water tank. I pulled the fitting off the end of the hose and just dropped it into my grey water jug.
Note: Many people complain that the hose is far too short to reach from their sink to their grey water tank. It’s only about two feet long. In my case, this was fine because the jug I use for grey water sits directly below where I put the sink. If you put yours anywhere besides that, you’ll likely need to extend this hose.
Install the Faucet
The one I got requires a 1 7/8″ hole through your counter. My 2″ hole saw didn’t work on the stainless steel bowl, but it worked perfectly through my wooden counter. The extra 1/8″ isn’t a problem, because two screws secure the faucet firmly into position.
The faucet requires 3/8″ inner diameter tubing for its water supply. I had to replace all of the 1/2″ tubing I already had for my foot pump. I only needed about two feet worth of tubing, plus a short PVC pipe to sit rigidly inside the fresh water jug. The tubing alone tends to curl up from having been stored on a reel for a long time, so this straight pipe ensures that you’re sucking water from the bottom of the tank. I also drill a few holes across the bottom of this pipe to ensure a good water supply from all directions, not just the open bottom.
Silicone the Sink
Nothing exciting here. The bowl already sits nicely inside of the hole in the counter. A dab of silicone all the way around the circumference will help seal the underside from leaks, as well as firmly mount the sink into position. If silicone is good enough to keep my solar panels from flying off on the highway, it’s good enough to hold the sink in place.
May You Never Thirst
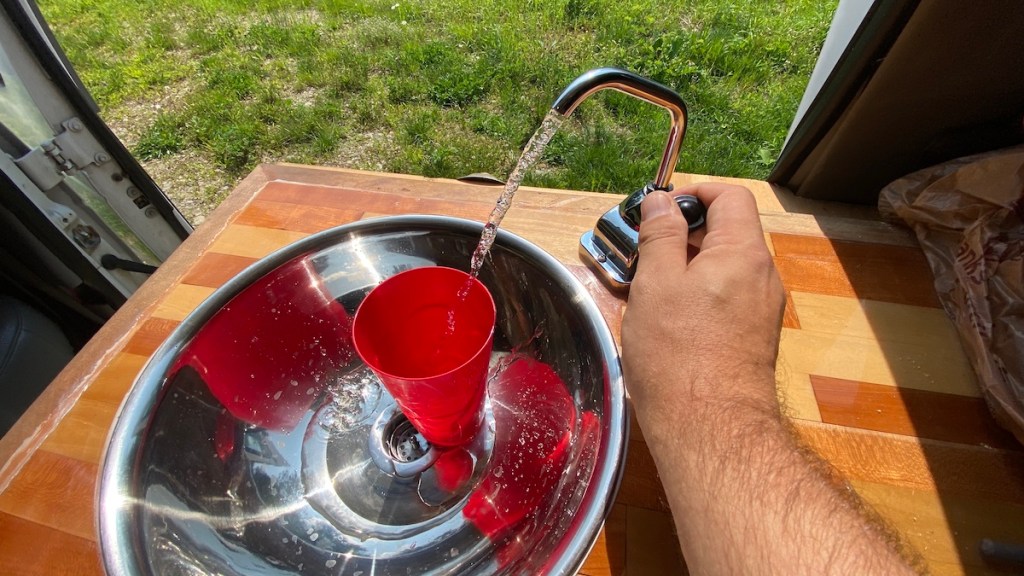
Pour yourself a cold one — I mean water, because now, you can — and enjoy the fruits of your labors. You’re done.
