
Yesterday was the day I cut a big hole in my perfectly good roof. Then I successfully filled it with a second Maxxair roof vent.
This isn’t going to be a step-by-step how-to post about the process. This has been well documented all over the internet, so I feel no need to reinvent the wheel. But I will show you the general process I went through.

Measure once, cut twice, right? No, not really. I started by drawing all over my roof to mark the area I wanted. to cut out. I found the centerline, which also matches the gap between my solar panels. I had a bunch of wiggle room forward and back and decided to center it with my side door opening. Then I placed one of the mounting brackets on top of the roof and traced it. X marks the spot.
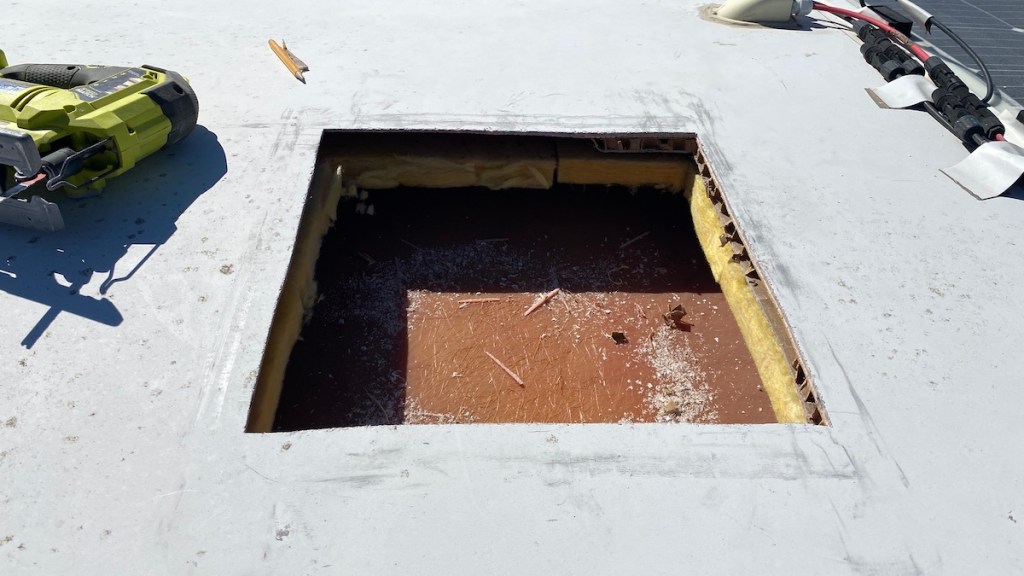
I drilled holes in the corners large enough to stick a jigsaw blade through, then cut out the hole. The roof was pretty dirty after this, so after snapping this picture I cleaned up a large perimeter around the edges. This would be essential for the sealant to stick properly later.
There are two layers of fiberglass in my roof. The jigsaw blade wasn’t long enough to cut them both at the same time, so I had to drill and cut holes twice.
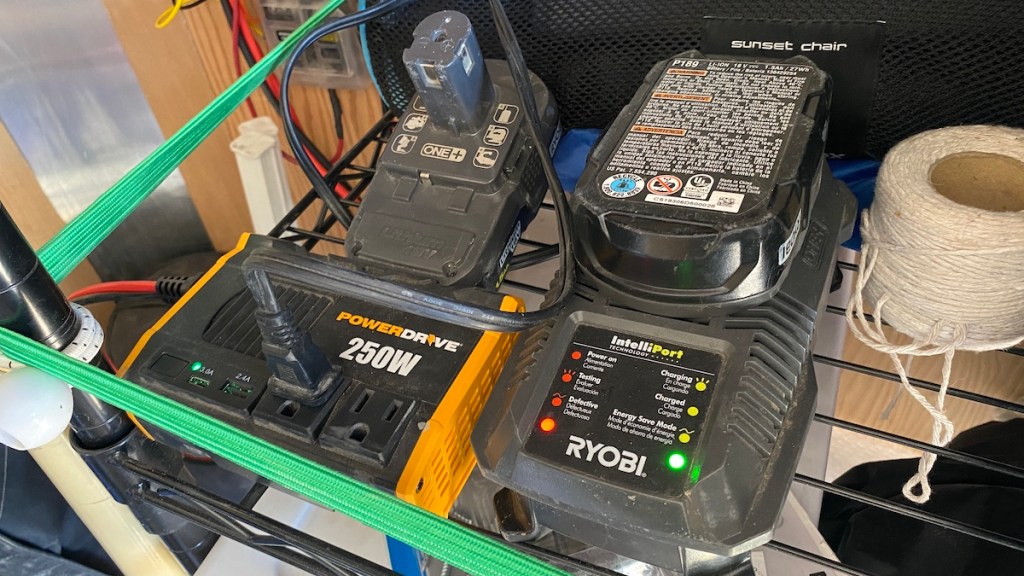
Naturally, my battery ran out of juice halfway through cutting the first hole. Jenn had my charger, sander, and other battery in her Jeep for a project of her own, and was out and about at the time. She kindly brought these back to me so I could keep going. This is where my tool charging station in the trailer came in handy.

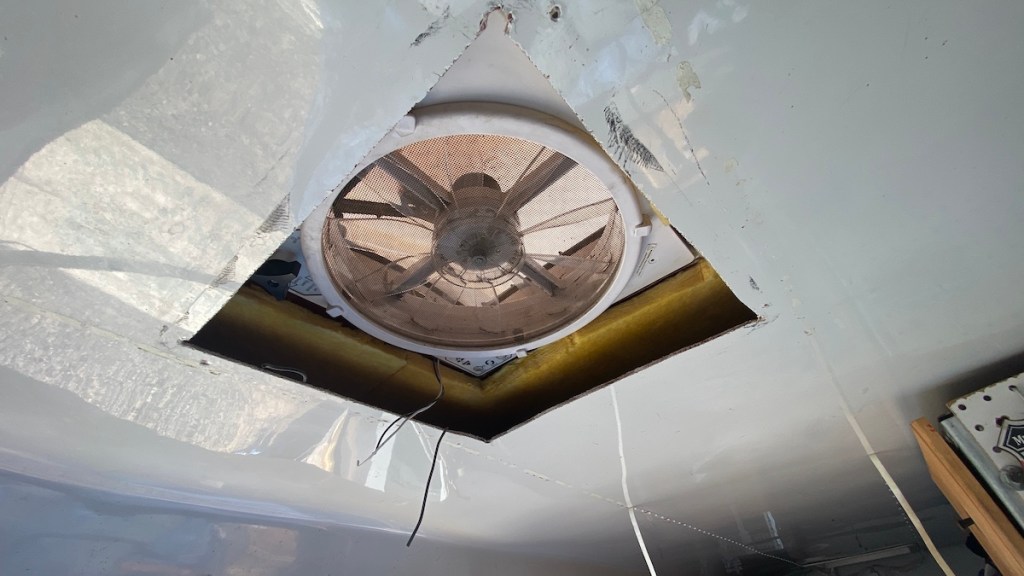
I had to repeat the process of drilling and cutting separately on the inner roof panel. I drilled the corner holes as best I could from the top, then cut it with the jigsaw from the inside. It was much messier inside the van than if I’d been able to cut it from above, but that’s how it is. I did clear things up and put a tarp down before cutting.
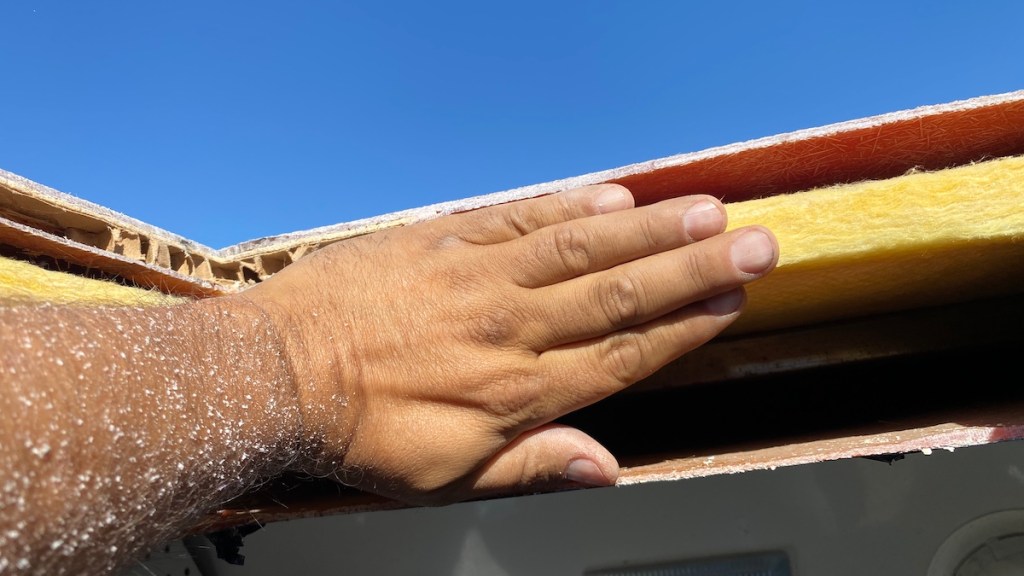
On a side note, look at how much wasted space there is between the two layers of the roof. I’m thankful for the insulation the van came with, but the gap is the width of my hand, about five inches or so. If I’d known about this in the beginning, the first step of my build would’ve been to remove the inner fiberglass entirely to gain valuable headroom. I can’t do this now because I’d have to remove the whole interior to get it out. It’s just not worth it at this point. If you’re building a wheelchair van, learn from my lesson and consider doing this for max headroom (not to be confused with Max Headroom). You’ll want to insulate the roof afterward, but you’ll still gain several inches of space, even after the insulation is in.
This realization sent me through the roof.

Next, it was time to install the outer bracket, which the fan itself attaches to. I coated the bottom with butyl tape, with two layers on the sides to account for the curve in my roof. Then I screwed it down securely. You can clearly see the perimeter I’d cleaned around the hole.
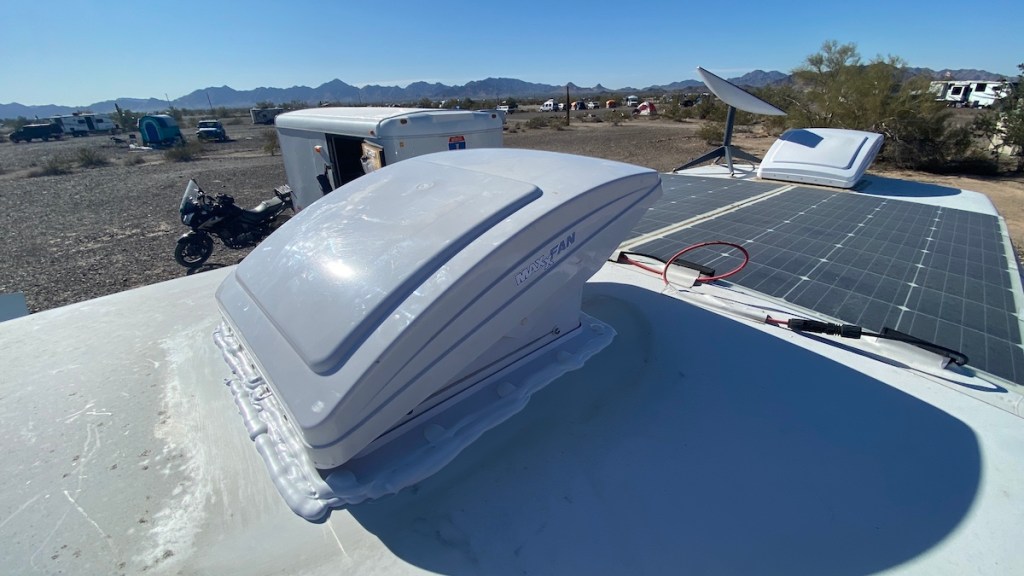
Then I gooped the heck out of the bracket and screw holes with Dicor self-leveling lap sealant. This spreads out, covers everything, and ensures there are no leaks. The caulking gun I picked up specifically for this job didn’t work at all, but fortunately Jenn had one that worked perfectly. After that, it was easy to slide the old fan into the new bracket. Four screws hold it in.
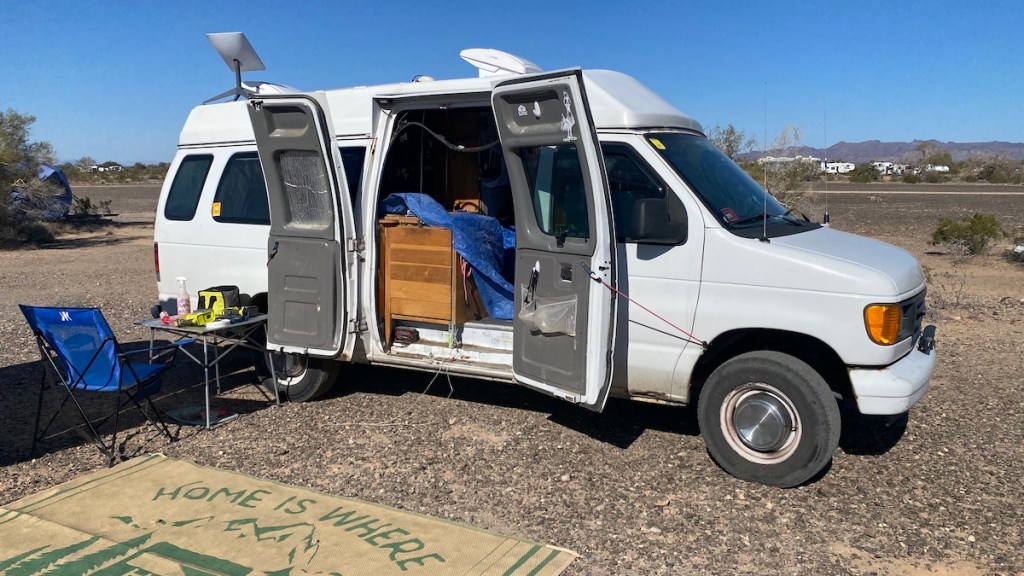
From the outside, the job looks done, but it’s not. You can see my tarp covering the interior. I used one of my tables for my tools. The other one is set up inside the trailer, where I’d been sorting out the parts and deep cleaning my old fan. I also moved Lister’s food and water under the table next to the van so it wasn’t in the middle of the construction zone and he could still reach them.
One of the benefits of the huge gap between roof layers is that it was quite easy to run the fan wiring through it. I just had to solder two wires together. Soldering is overkill, but I don’t want to take this apart and do it again because of a failed crimp connector.
It drives me crazy that on Maxxair fans, the power wire is black, and the ground is white. This is the opposite of the standard wiring convention that black is ground! I wonder how many people have fried their fans by reversing the polarity without knowing it.
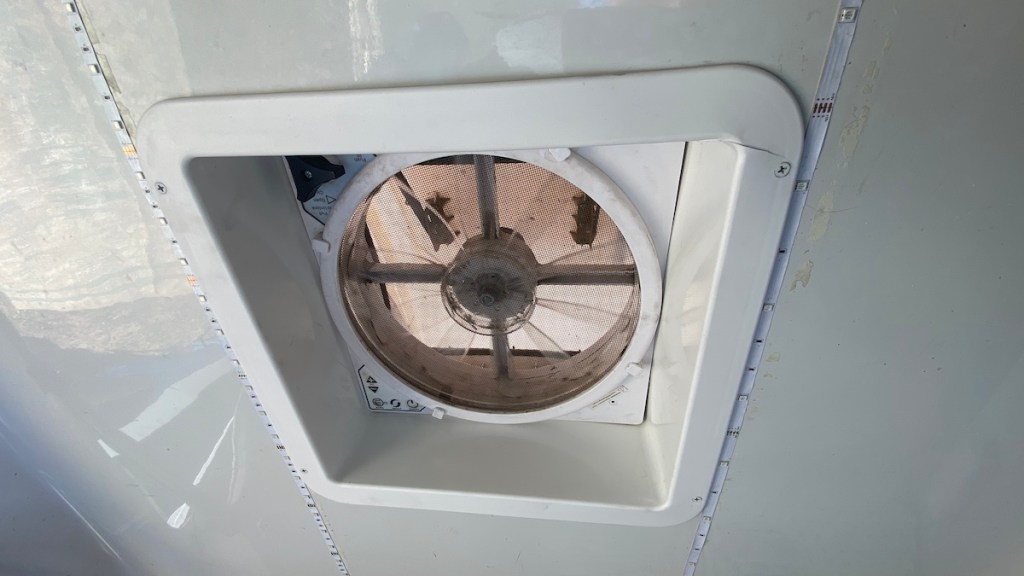
The inside looked like a mess before, but I knew that this trim piece would cover it. Once that was done I put my LED strip lights back up, running alongside the trim piece. I’d pulled them down before any drilling or cutting so I didn’t damage them.
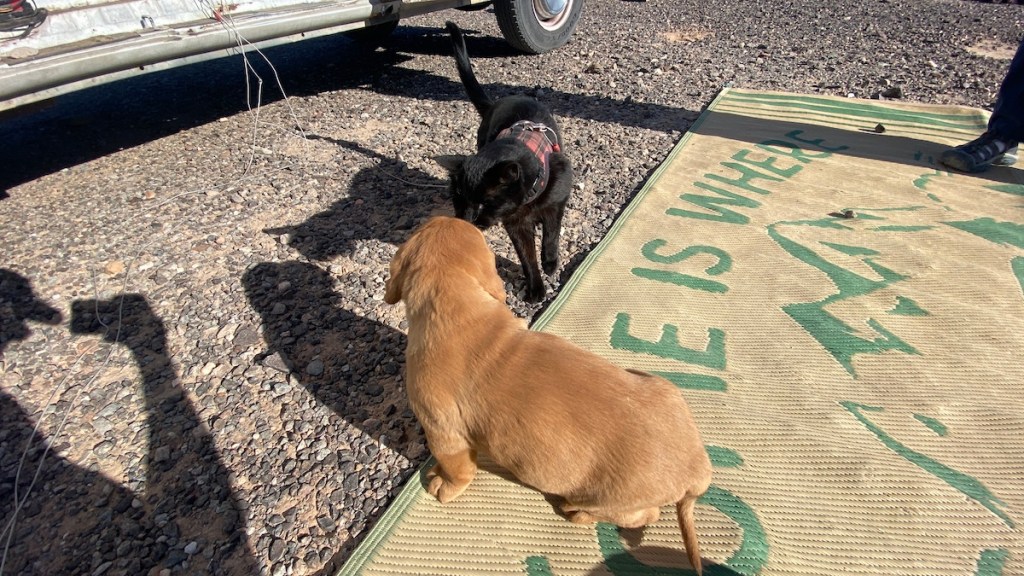

Everything came to a screeching halt when Marilyn brought over one of the puppies from a nearby camp. She’d wanted to see how Lister got along with her, which was not very well. Instead, she crawled into my lap and made herself at home. I might have melted a bit. So cute.
At this point, it was cleanup time, and there was a lot to do. I was grateful for the longer daylight hours, or I would’ve been rushing to turn the construction zone back into a living space before it got dark and cold. As it is, I had no time to waste, but I didn’t have to rush, either.
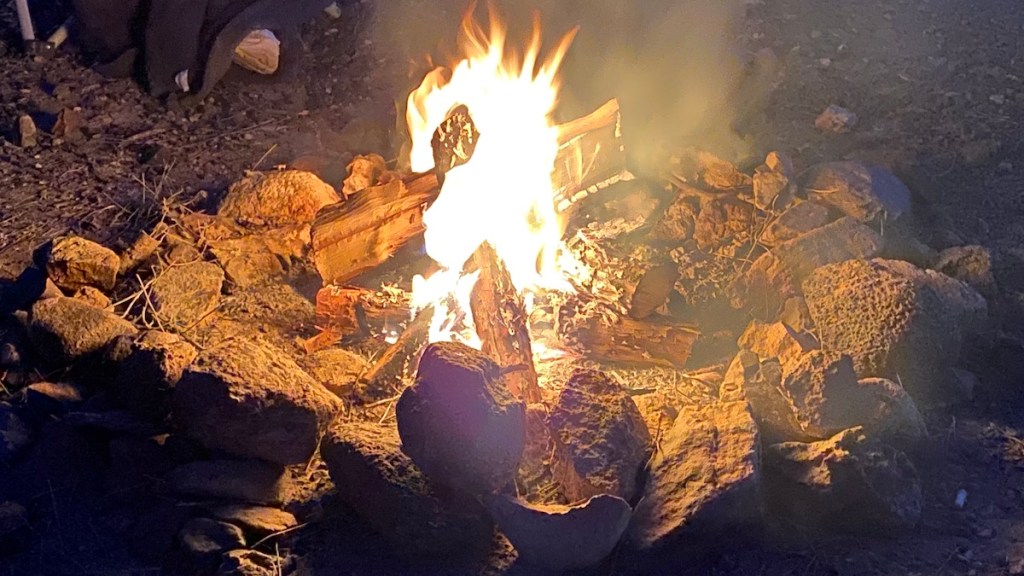
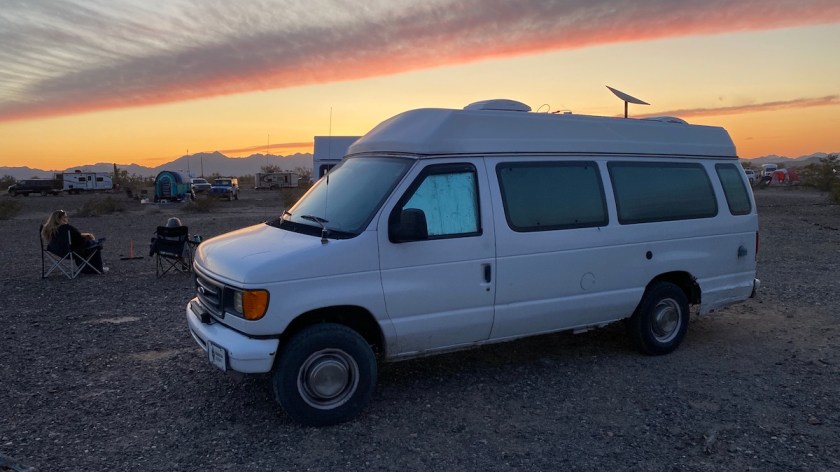
After I got everything put away we watched the sunset. Then I made a fire in my newly discovered fire pit (thanks to Jenn for fetching firewood for me on one of her town runs). I wanted to use it at least once before I left. A few of the neighbors joined me, and it was a good time.
This project was the main thing I wanted to accomplish before leaving Quartzsite. Now I should have great ventilation even with the doors and windows shut. When I turned on the heater this morning, I also turned on the front fan a little bit, with the vent still closed, just to circulate hot air instead of it collecting at the roof and setting off the heat detector on my smoke alarm. It worked perfectly.
Given my work situation, I probably wouldn’t have splurged for it at this point if the old fan’s automatic mode hadn’t stopped working. That’s absolutely essential for Lister’s comfort and safety while I’m away from the van. But I’m glad I did it. I think it’s going to be quite useful, especially on the east coast, where bugs and mosquitoes will make me want to keep the windows closed.
